
How do you configure the SPF, DKIM and DMARC of your emails?
If you have come this far, it is because you have understood that the technical configuration of your emails is the first essential step so that your emails are never stopped again...


If you have come this far, it is because you have understood that the technical configuration of your emails is the first essential step so that your emails are never stopped again... In other words, That they never fall into SPAM again.
In the real world, as in the virtual world, it is often necessary to prove our identity. Whether it is to ensure that you are the right person, that you have the license for a specific vehicle, or the legal age to return in the evening for example. 🕺
Imagine that you want to go out clubbing with your friends and you don't have your ID, if the bouncer has any doubts about your age, he will tell you: NO WAYYY!
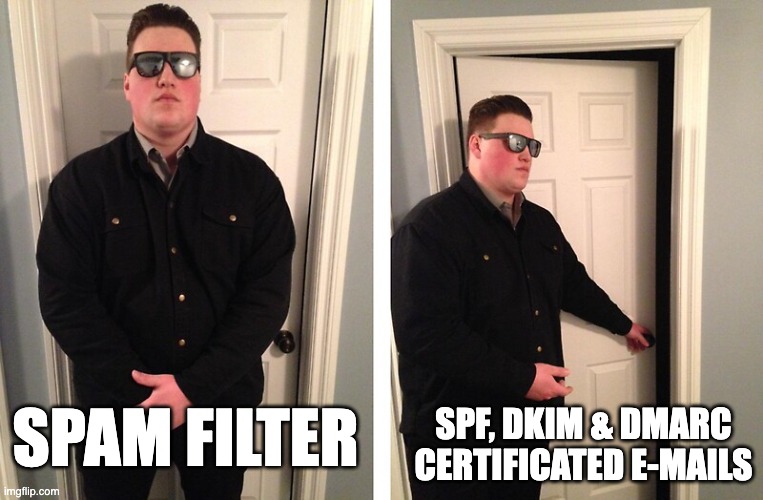
In the email world, it works the same way. If you want to pass the anti-spam filters, you will have to prove that you are a legitimate sender and that your identity is valid.
That's exactly what the is for SPF, DKIM and DMARC. They will help you get into the nightclub, eliminate the bouncer by the way so you can have the best evening of your life! 🍾
In summary, to protect the reputation of your domain, boost your deliverability and increase your chances of responses, it is essential to configure these 3 elements: SPF, DKIM, and DMARC.
SPF, DKA... What?
We agree, standard abbreviations are not the sexiest, but understanding them will be very useful for you!
I imagine you are eager to know what they really mean, so let's get to the heart of the matter without further ado:
SPF
The SPF, more precisely Sender Policy Framework, make sure that your email started from an IP address linked to your domain name and therefore that it came from you. This verifies that the incoming email from a domain comes from an IP address authorized by the administrators of that domain. We then speak of an SPF record, which specifies which IP addresses are authorized to send messages from this domain.
To summarize, SPF is therefore a standard to ensure that you are the sender and that you are authorized to send messages from your domain.
Surely you are wondering why this is important? Imagine that a spammer is trying to send emails pretending to be you (also called phishing), well, thanks to SPF authentication, it won't be able to.
DKIM
The DKIM (DomainKeys Identified Mail) is an encrypted signature (with a public key and a private key), which ensures that the message you send is not intercepted or modified upon delivery and that it actually comes from the recipient (the “From:” header that informs the sender of the email).
In summary, DKIM is a protocol to protect your message during its journey, to ensure that it is not altered along the way.
🥊 SPF vs DKIMIf the SPF assures that the email came from you, the DKIM ensures that your recipient receives the message in the same form as what you sent.
DMARC
The DMARC (Domain-based Message Authentication, Reporting & Compliance) on the other hand, authenticates emails to ensure and confirm that they meet verification standards. DMARC is a system built on the previous two (DKIM and SPF).
If the email passes authentication, it will be delivered and this ensures its security (in terms of recipient and authentication). But if the email fails verification (if it doesn't meet their SPF or DKIM requirements), based on the instructions in the DMARC record, it may be delivered, quarantined, or rejected.
To summarize, DMARC is a protocol that builds on the previous two, which instructs your mail server on how to manage email based on its authentications.
Now that you've become an ace at the underlying technology, we're getting to the most interesting part for you! You will be able to set up all these recordings mentioned above!
How to configure these 3 elements in your DNS zone?
The DNS zone (Domain Name System) is what organizes the different areas of your domain, so it is an area that you will find on the service where you registered your domain name (taboite.com). Depending on where you registered yours, it could be on OVH, GoDaddy, Namecheap, Google, etc.
Once connected, I invite you to go to the DNS zone of your domain.

We give you the example here to manage your registrations via the Google console, but the steps will be mostly the same regardless of the domain provider:
SPF
1 ️ ※ Log in to your domain account on your domain host's site (not your Google admin console). This could be GoDaddy, Squarespace, Namecheap, etc.
2 ️ ※ Go to the page for updating your domain's DNS records.
DNS management, name server management, or advanced settings.
3 ️ 803 Find your TXT records and check if your domain has an existing SPF record. The SPF record starts with “v=spf1...”
4 ️ ※ If your domain already has an SPF record, delete it.
5 ️ ※ Create a TXT record with these values:
- Name/Host/Alias - Enter @ or leave empty.
- Other DNS records for your domain might show the correct entry.
- Time to Live (TTL) - Between 3600 or leave the default.
- Value/Response/Destination - Enter “v=spf1 include:_spf.google.com ~all”
Note that if your domain is not connected to the Google console, you will need to find the exact record according to the system that manages the sending of your emails.
In the case of emails managed from OVH, the target value is as follows:
“v=spf1 include:mx.ovh.com ~all”
All of the previous fields are identical for their part.
DKIM
1 ️ ※ Log in to Google Admin: admin.google.com
2 ️ ※ In the admin console, go to the ➡️ Apps ➡️ Google Workspace ➡️ Gmail menu.
3 ️ 803 Generates a DKIM key.
4 ️ ※ Creates a DNS TXT record with the DKIM key generated in the previous step.
To do this, you need to go to your domain provider, for example GoDaddy, Squarespace, Namecheap, etc.
5 ️ ※ After creating the DNS TXT record in your domain with the DKIM key, you can start to authenticate yourself.
Note for OVH: unfortunately OVH is a fairly archaic system when it comes to email management, which does not allow you to manage DKIM. It will therefore not be possible to do this step while staying at OVH. We recommend that you switch your emails to Google Workspace for optimal configuration.
DMARC
1 ️ ※ Go to your domain administrator's site. Find DNS management or settings.
2 ️ ※ Add this TXT record to your DNS:
Hostname: _dmarc
VALUE (with email): v=DMARC1; p=quarantine; rua=mailto: example@example.com; pct=90; sp=none
OR
The minimum VALUE is: v=dmarC1; p=none; rua=mailto: example@example.com;
OR
VALUE (without email): v=DMARC1; p=quarantine; pct=90; sp=none
The values entered in the DMARC record will indicate how incoming emails should be managed by your mail server based on the quality of their identification. For more information on DMARC registration fields, and to understand each of the values, I invite you to read this article: https://dmarcian.com/fr/pct-tag/
⚠️ Remember to always replace sample emails (example@example.com) with an email that actually exists and belongs to you in order to receive DMARC reports. If you don't want to receive a report by email, just leave the field blank rua=mailto: example@example.com ⚠️
If you need more help, here are some bonus Google tutorials to help you set up each of these items:
- SPF: Google tutorial: https://support.google.com/a/answer/10684623?hl=en
- DKIM: Google Tutorial: https://support.google.com/a/answer/180504?hl=en
- DMARC: Google Tutorial: https://support.google.com/a/answer/2466563?hl=en
You now have all the keys in hand for a technical setup worthy of a real computer pro, Aka The Hackerman !
